1. Check Packing Contents
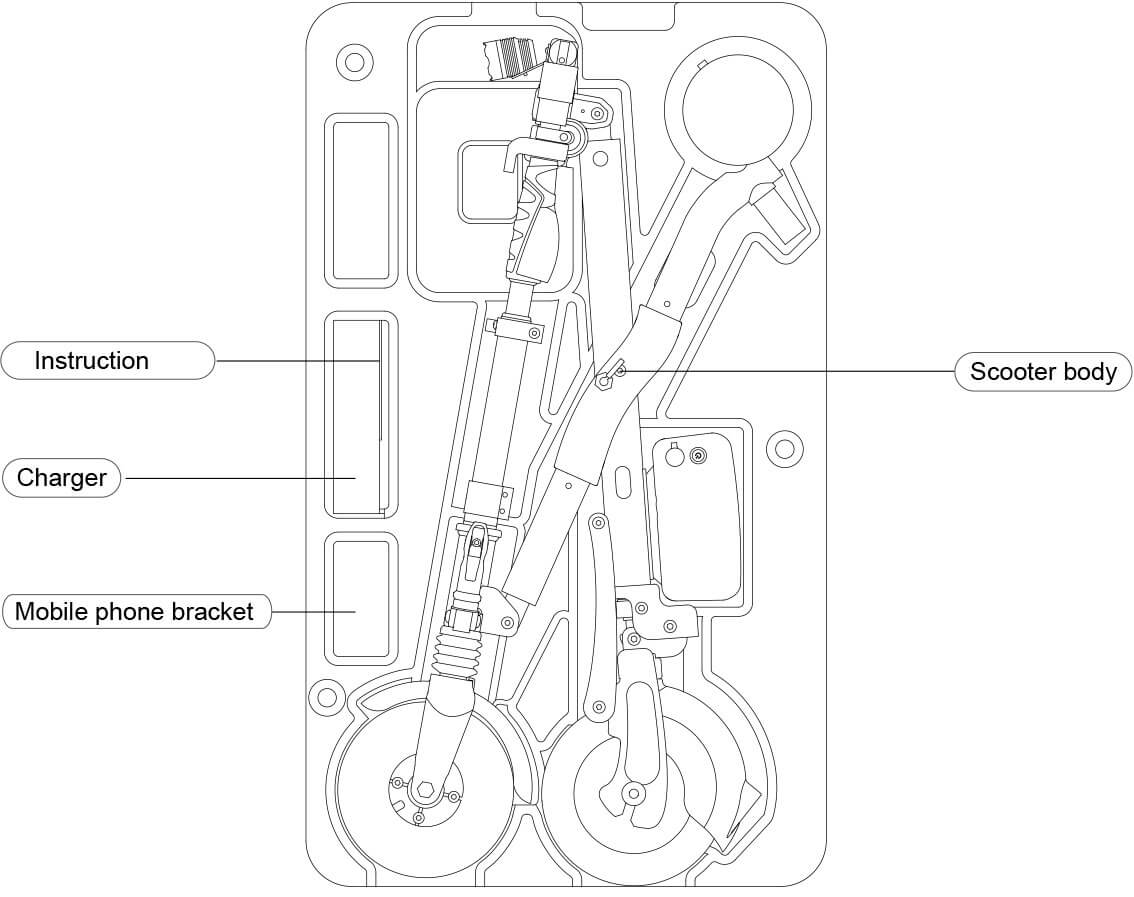
Packing list
| Scooter body | 1 pcs | Instruction | 1 unit |
| Charger | 1 pcs | Mobile phone bracket | 1 unit |
Packing list
| Scooter body | 1 pcs | Instruction | 1 unit |
| Charger | 1 pcs | Mobile phone bracket | 1 unit |
| Size | 996mm × 870mm × 592mm |
| Item weight | ~14.15kg |
| Folding size | 950mm × 465mm × 160mm |
| Maximum load | 100kg |
| Tire size | 8inch |
| Max speed | ~20km/h |
| Charging voltage | AC220V 50-60Hz |
| Maximum Permissible Gradient | ~15° |
| Charging time | 247.9Wh: 180min |
| Applicable temperature | -10°C~40°C |
| USB output voltage | 5V |
| USB maximum current output | 1.5A |
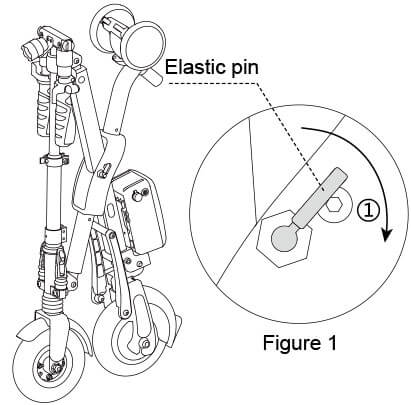
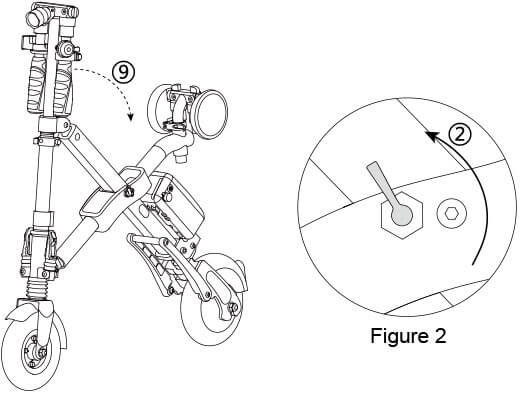
① Rotate the elastic pin 180° (see Figure 1 - ①arrow), pull open the scooter body(see ⑨ arrow). Rotate the elastic pin 180°to fasten the scooter body (see Figure 2 - ②arrow).
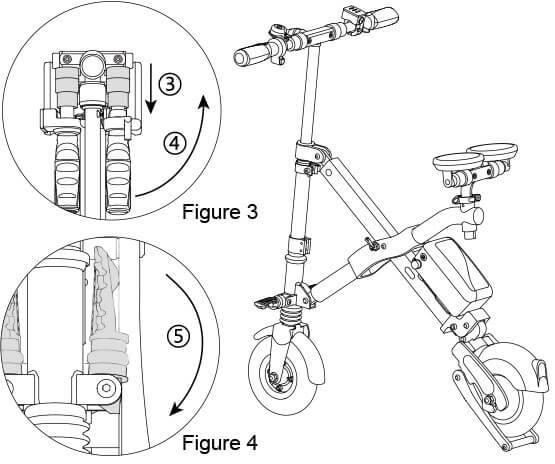
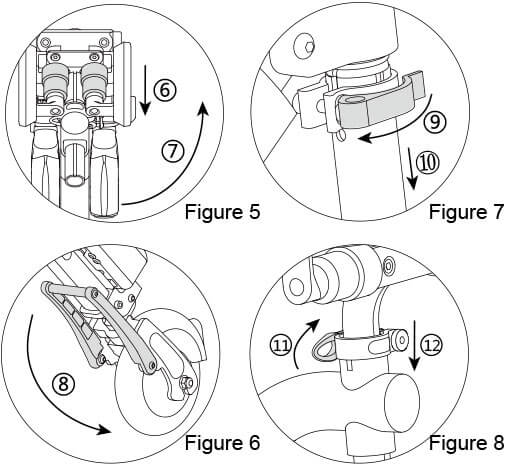
② Unfold the arm-brace(see Figure 6 - ⑧arrow). set right the scooter head, pull down the lock catch on the handles(see Figure 3 - ③arrow), unfold the handles as the arrow 3-④ and release lock catch to fasten the handles.Pull down the pedals(see Figure 4 - ⑤arrow). pull down the lock catch on the two cushions(see Figure 5 - ⑥arrow), release the cushions as the arrow 5-⑦ and release lock catch to fasten the cushions.
③ Adjusting the scooter height: open the lifting rod lock (see Figure 7-⑨ arrow), adjust the height in the arrow direction (see Figure 7-⑩ arrow). After adjustment is finished, close the lifting rod lock. Adjusting the cushion height: open the lifting rod lock (see Figure 8- arrow), adjust the height in the arrow direction (see Figure 8- arrow). After adjustment is finished, close the lifting rod lock.
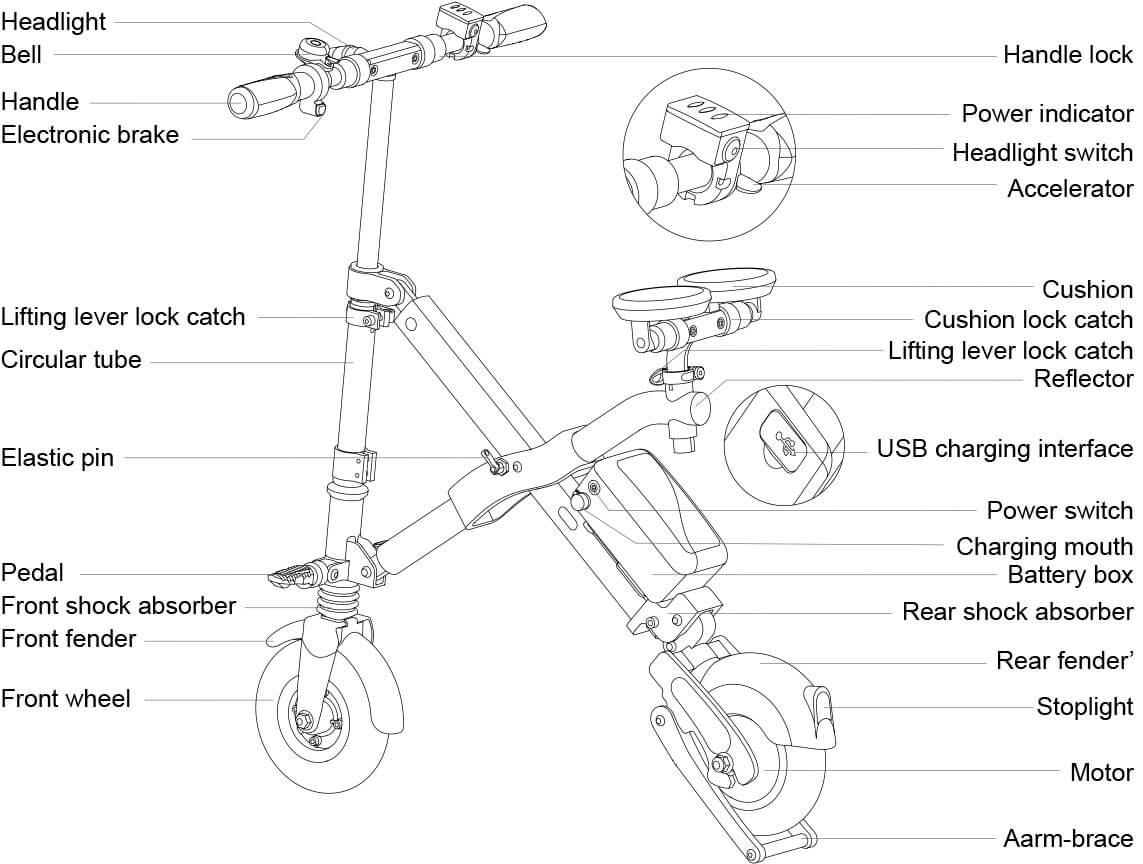
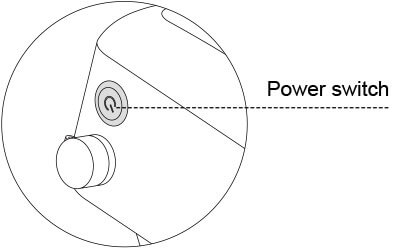
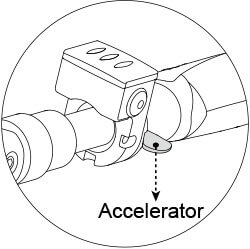
Set the E6’s head right, fold the arm-brace, fasten the scooter frame and adjust the scooter head and cushion position to ensure a comfortable riding experience. On the side of battery housing, find switching power and open, then hold the handle, step on the pedal one foot by one foot, right down to move accelerator to accelerate, and riders can ride it.
Figure 9
Open the power switch Starting is completed.
Figure 10
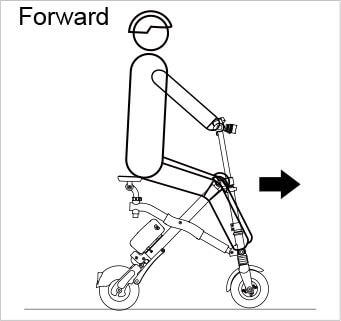
Pull down the accelerator to speed up and ride.
Figure 11
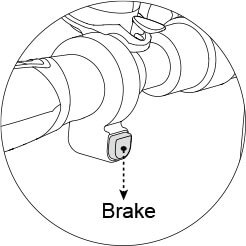
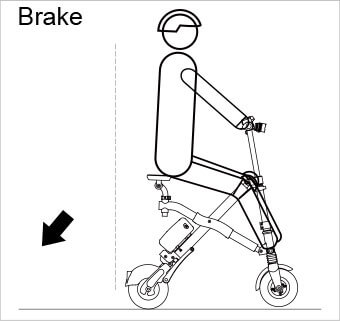
Long press the brake button,release it when slow down or stop.
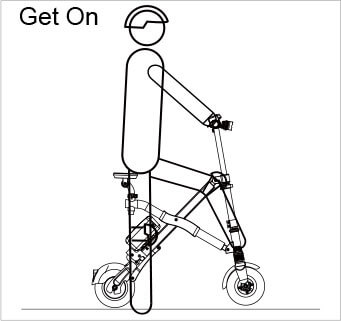
Turn the power on (see Figure 9) and step on the pedal one foot by one foot.
Right down to move the accelerator (see Figure 10).
Long hold the break handle (see Figure 11).
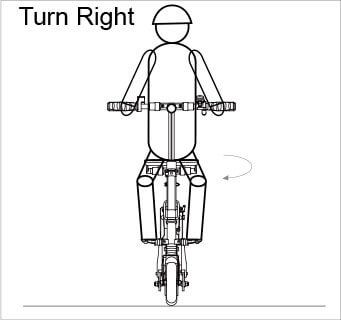
Turn the Scooter head to the right
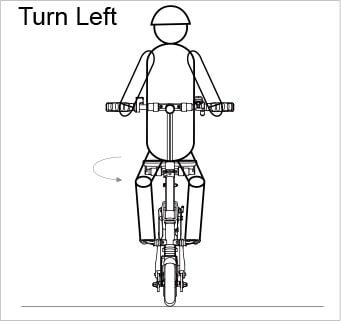
Turn the Scooter head to the left
Get off from the pedal one foot by one foot
Riding steps for beginners
1. Open power switch and hold E6 with hands.
2. One foot steps on the pedal and the other on the ground, keep eyes front. Right down to move the accelerator to accelerate
3. When there is a need to decelerate or stop, press the electronic brake, hold it until it decelerates or stops.
4. When brake starts, the accelerator on the right handle automatically powers off.
· After cleaning E6, it is better to find a safe place to dry it.
· Avoid using this product in bad weather conditions (e.g., rain, snow, or ice).
· Please confirm whether the brake can be used normally when riders want to use it.
Please read notices carefully and follow riding requirements during the E6 ride.
Important Note:
Sharp acceleration, deceleration, sudden turning and over speeding via overly leaning forward or backward are strictly forbidden. It is not suggested ride when the App shows only one bar left, or the power switch keeps blinking. If in riding, please keep constantly slow speed. If there is a risk of falling, please protect personal safety first, regardless of E6. During the riding process or storage, wear and tear may affect its performance. Before you ride E6, please check the following matters:
1. Rider needs to check whether the E6 is installed firmly, and is damaged or not.
2. Rider needs to check the brake function and tyres, and to check whether the handle, cushion and folding lock catch are fastened. If not, please tighten the screws.
3. Rider needs to check whether folding mechanism has been locked.
4. Rider needs to find an open space to practice, at least 4m*20m area, indoor and outdoor.
5. Rider needs to have a full understanding of the surrounding environment to avoid the interference from the vehicle, pedestrians, pets, bicycles and other obstacles.
6. Rider needs a skilled assistant at side. The assistant is proficient in riding E6 and familiar with the guidelines for the use of scooters in all matters needing attention and riding method.
Attention:
1. Do wear helmet, gloves, elbow/knee pads or other necessary protection gears, in case of accidents.
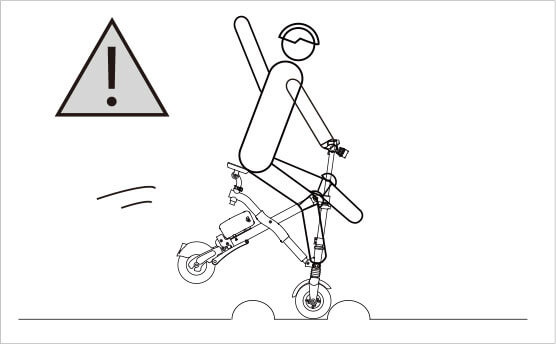
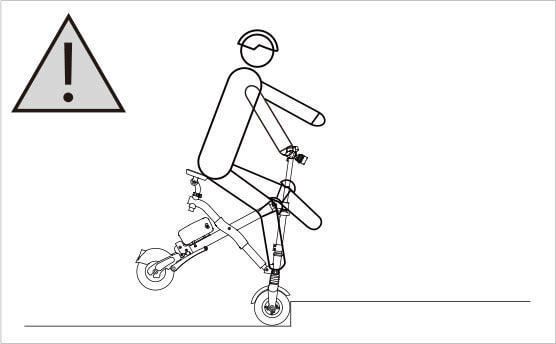
2. Do not ride on the bumpy and wet roads, such as earth road, cobbled road or snowing and watery roads.
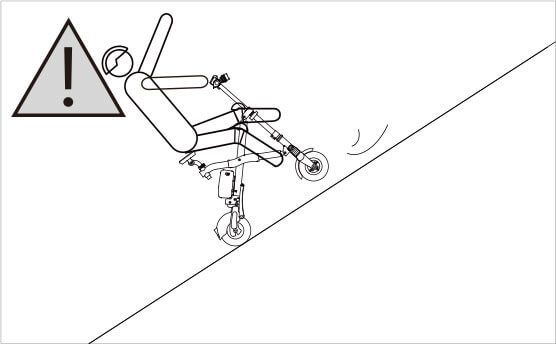
3. Do not ride Airwheel on slopes of over 15°gradient.
4. Do not allow children under 15 or the aged above 60 to ride Airwheel.
5. Drunk or drug or those who are behavioral or reactivity confined riding Airwheel is prohibited.
6. Do not ride Airwheel in extremely cold winter.
7. Do not ride Airwheel in the rain.
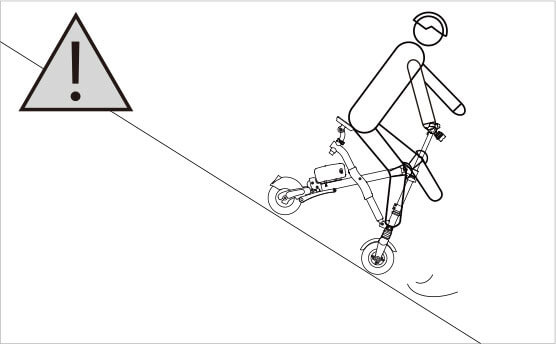
8. Please slow down on the upper and lower slopes.
9. Do not ride Airwheel in other unadvised situations causing by either personal or objective reasons.
10.In charging, connect battery charging interface first and then connect the power source.
You need lots of practice to grasp the skill before you ride the E6 safely. If you are not skilled, or fail to follow the user guide of this product, it may cause rider or others injury or property loss. Our company only takes the responsibility for product defects or damage, and we are NOT responsible for physical injury or property loss related with using products.
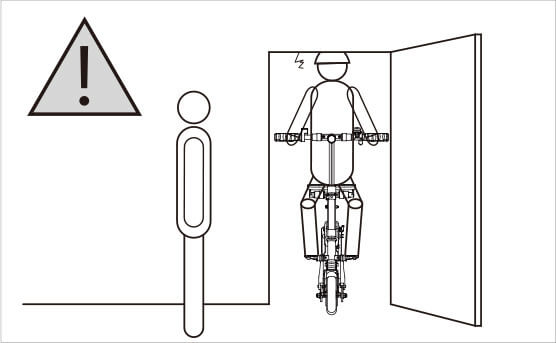
Entrance Height
Bumpy Terrains
Slope Angle >15°
Slope Angle >15°/Do not use front brake when riding on slopes or riding in a high speed.
Staircases
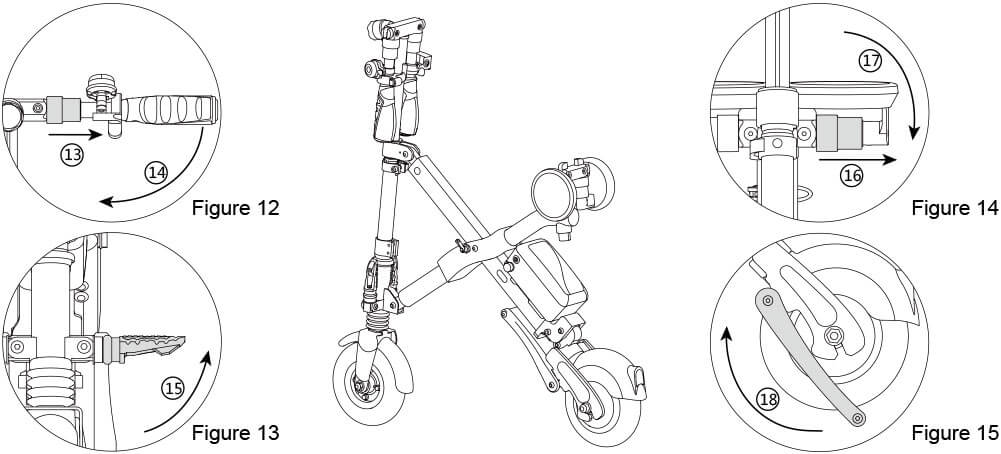
① Pull the handle lack catch gently (see Figure 12- arrow), fold the handles (see Figure 12- arrow) and release the lack catch. Fold the pedals (see Figure 13- arrow). Pull the cushion lack catch gently (see Figure 14- arrow), fold the handles(see Figure 14- arrow) and release the lack catch. Fold the arm-brace(see Figure 15- arrow)
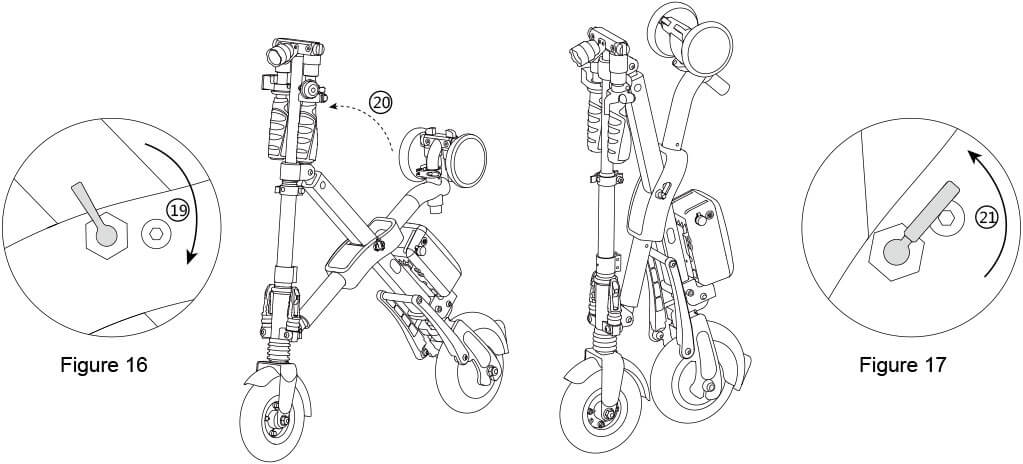
② Rotate the index pin 180°(see Figure 16- arrow), fold the frame(see arrow), rotate the index pin 180°to fasten the folding scoter(see Figure 17- arrow).
Scan two-dimensional code to download
*Support Android 4.3 or higher, iOS 7.0 or higher.
APP Instructions
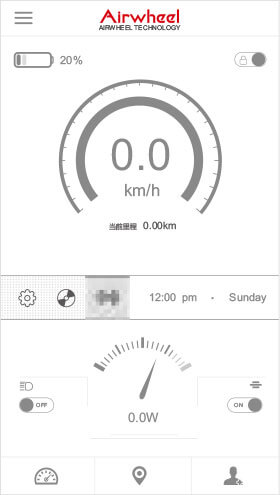
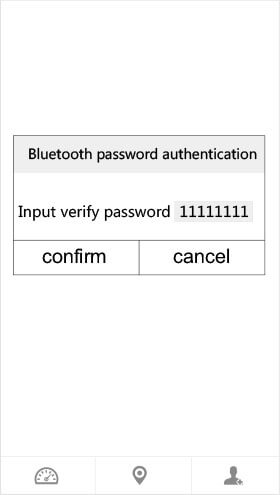
1. Turn on E6 power button, and start App as well as Bluetooth.
2. Do as the follows to connect (verify password is 11111111).
3. Refer to official website or give calls for details.
Version 1
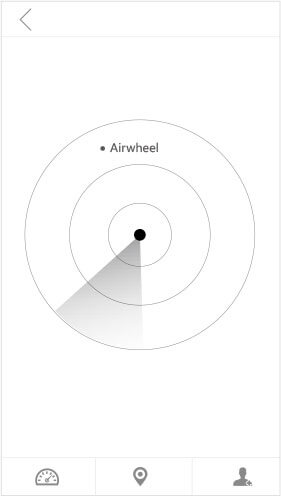
Click App’s wireless connection icon
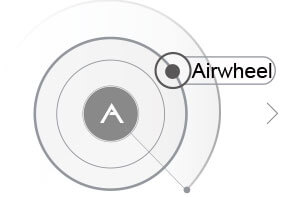
Search Airwheel nearby,click the searched Airwheel model to connect.
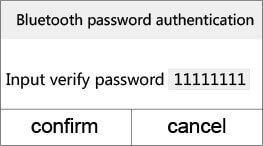
Input the verify password: 11111111 to connect.
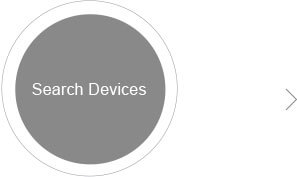
Version 2
Click the search button.
Search Airwheel nearby,click the searched Airwheel model to connect.
Input the verify password: 11111111 to connect.
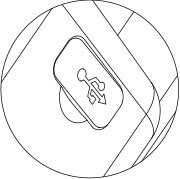
· Charging port:
chargeable (compatible with mainstream phones and electronics).
· Dismountable battery box
Separate the battery box line with the frame line before dismounting the battery box (insert the battery box and then connect when installing battery box).Pull the elastic bin and move the battery box in the figure direction and then take out for charging.
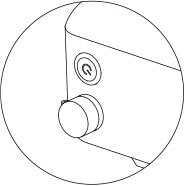
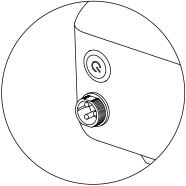
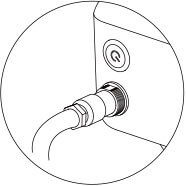
Uncover the dust cap of the charging mouth and then connect the charging plug to charge.
· Power indicator:
when it is red, riding is not suggested.
· Mobile phone bracket:
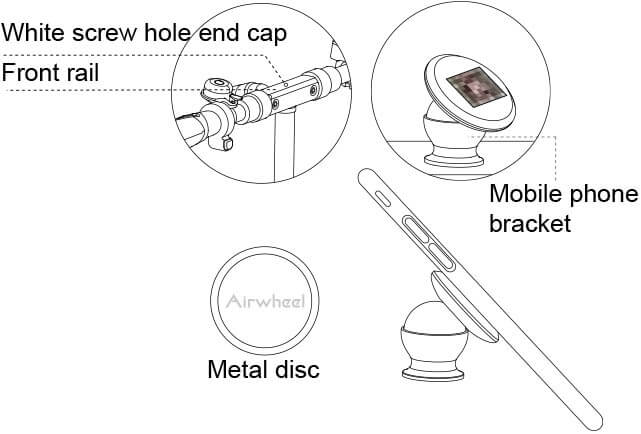
Unplug the white screw hole plug and fasten the mobile phone bracket with QR code clockwise in the screw hole. Take off the paster with Airwheel logo in the reverse side of metal disc, paste it on the phone and adsorb phone to the round socket.
(Please do not put the phone in the bracket in case of falling off when ride in the bumpy roads. )
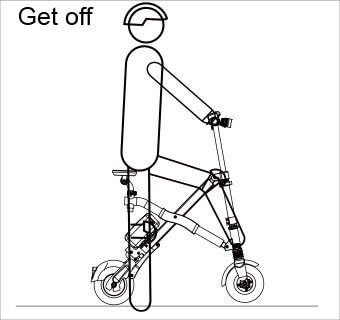
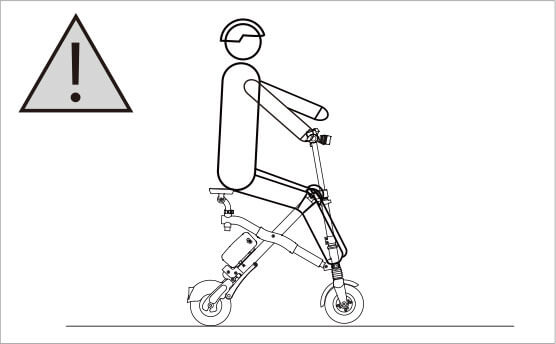 Do not remain on the standing board after shutdown.
